Purpose of iOS Install Certificate

We will now discuss about the purpose and process of iOS Certificate. But catastrophically , Apple do not provide any command line options to help install self-signed certificate on a real device or Simulator. However, to support this you have over-the-air enrollment technology, that permits the deployment of several entity types. These includes certificates, by simply downloading specially prepared configuration files with the built-in web browser. Thereafter, the configuration is downloaded, further it can be installed and trusted by going through several simple wizard steps.
iOS Install Certificate – mobile: installCertificate
We use the following steps to run the mobile:installCertificate command –
- At first, this command receives the content of an existing certificate in PEM format
- In the next step it transforms the content to a special config format and deploys it on Appium’s built-in HTTP server
- Further the config can be downloaded and accepted on the device under test.
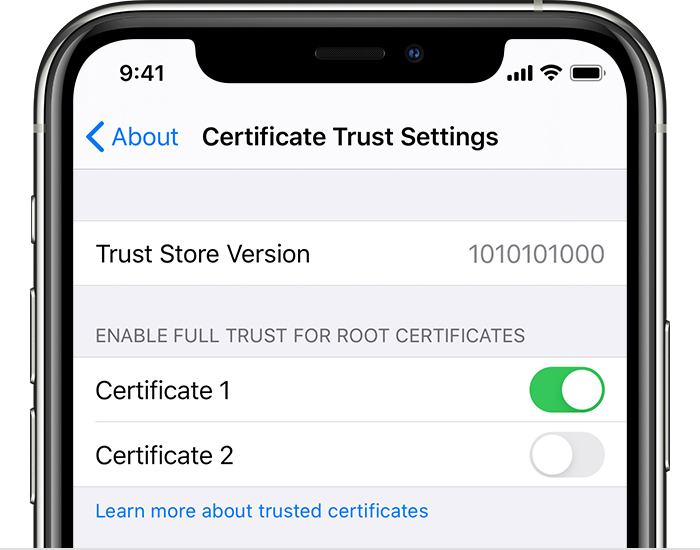
The primary requirement in this whole process of implementation is that the hostname and port, where Appium server is running, are reachable on the device under test. Once the certificate is installed the script is going to open System Preferences again and enable it inside Certificate Trust Settings, in case it is disabled.
Supported arguments
- content: The content of the certificate represented as base64-encoded string. The parameter is mandatory
Usage examples
// Java
Map<String, Object> args = new HashMap<>();
byte[] byteContent = Files.readAllBytes(new File(“custom.cer”).toPath());
args.put(“content”, Base64.getEncoder().encodeToString(byteContent));
driver.executeScript(“mobile: installCertificate”, args);

